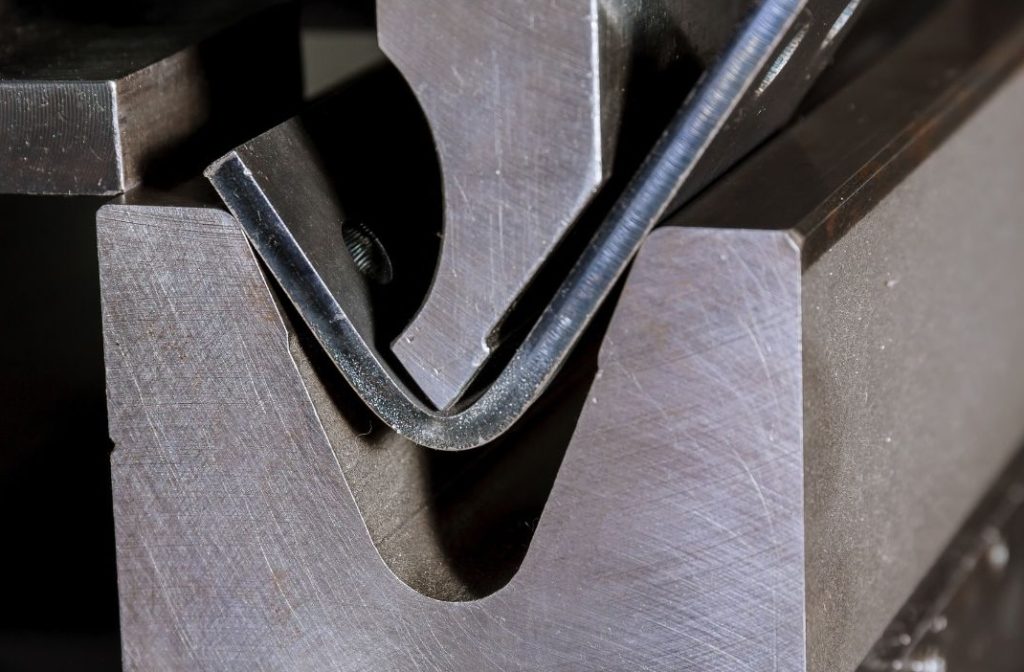
How Bend Radius Selection Impacts Strength In Sheet Metal Bending
In many drawings, the metal bend radius appears as a small dimension tucked beside an angle callout. It can look...
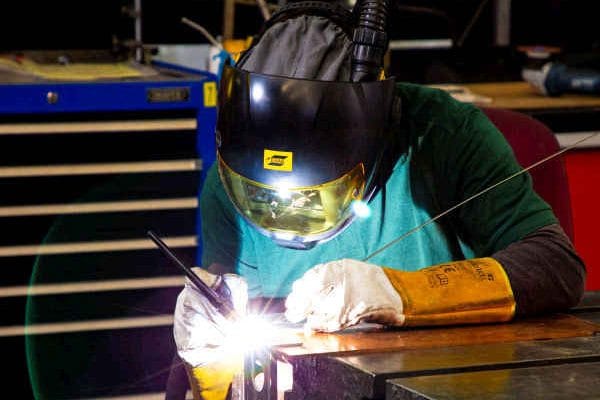
If you’ve ever looked at a fabrication drawing and felt like it was written in code, you’re not alone. Welding symbols might seem like a tangle of arrows, shapes, and numbers at first — but actually, they’re just a standard way of saying exactly what type of weld is needed and where.
Used in engineering and manufacturing drawings right across the UK, these symbols are essential for clear, consistent communication between design and production teams. They help avoid confusion, cut down errors, and keep metalwork projects on track.
So, this welding symbols guide is here to make sense of it all. Whether you’re learning how to read fabrication drawing symbols for the first time, or just brushing up, you’ll find plain explanations, useful examples and a simple breakdown of how it all fits together.
To get started, let’s run through the basic welding symbols explained in a way that actually makes sense on the shop floor. These are the ones you’ll spot most often on engineering weld symbols in fabrication drawings.
These symbols help keep things consistent across drawings, vital for welding drawing interpretation.
Once you’ve got the basics sorted, it’s worth knowing how supplementary symbols add more context. These extra markings sit alongside the main weld symbols and tell you how the weld should be finished or where it needs to go.
Using these additions in fabrication drawing symbols keeps things precise. No guesswork, no delays – just a clear brief from drawing to build.
At the centre of every welding symbol is a reference line — that straight horizontal line where all the action happens. Sounds simple, yet the placement of the arrow and the extra bits around it change everything.
Start with the arrow. It points to the exact spot on the drawing where the weld is needed. If you’ve got welds on both sides of a joint, you’ll sometimes see two arrows or an extra symbol mirroring the first.
Now look at the reference line — this splits into two parts: the arrow side (below the line) and the other side (above it). Where the weld symbol sits tells the welder which side of the joint to work on.
The tail, at the end of the line, is sometimes used to add extra notes, like welding processes or procedures.
Once you know how to read this setup, interpreting engineering weld symbols becomes a whole lot clearer.
Welding symbols don’t just say what kind of weld is needed – they also tell you how big it should be, how long, and sometimes what angle to aim for. Here’s how it usually plays out:
| Symbol Element | What It Shows |
| Numbers to the left | Weld size (e.g. leg length for a fillet weld) |
| Numbers to the right | Weld length or spacing between intermittent welds |
| Angle indicators | Bevel or groove angles – often vital for fit-up |
| Root opening/Gap | Distance between metal pieces before welding |
So, for example, if you see a “6” on the left of a fillet symbol, that’s likely a 6mm leg length. Meanwhile, a 60° angle on a V-groove tells the welder exactly how to prep the joint.
These little details, especially in UK weld symbol standards, make a huge difference on the workshop floor.
Different weld types need different tools — and welding symbols cover that, too. If there’s a tail on the reference line, that’s often where the welding process is named.
Here are some typical ones you might come across:
Each process comes with its own symbol or notation, helping welders prepare the right tools and settings. If you’re curious about how this plays out in practice, have a look at our metal welding services for some real-world context.
Welding symbols might seem small on the page, but they carry a lot of weight. They’re the link between the design bench and the workshop floor — a shared code that keeps everyone on the same page.
Get them right, and you reduce the risk of costly mistakes, mismatched welds or failed inspections. Misread or miss them altogether, and suddenly a project can slow down or spiral into rework.
For engineering firms, clear welding drawing interpretation builds trust with clients. For manufacturing SMEs, it means new staff can get up to speed quicker, and production stays efficient.If you’re ever unsure what the symbols on a drawing are trying to say, it’s better to ask than assume. Or, you can always reach out to us — just head over to contact us, and we’ll help you figure it out.

In many drawings, the metal bend radius appears as a small dimension tucked beside an angle callout. It can look...
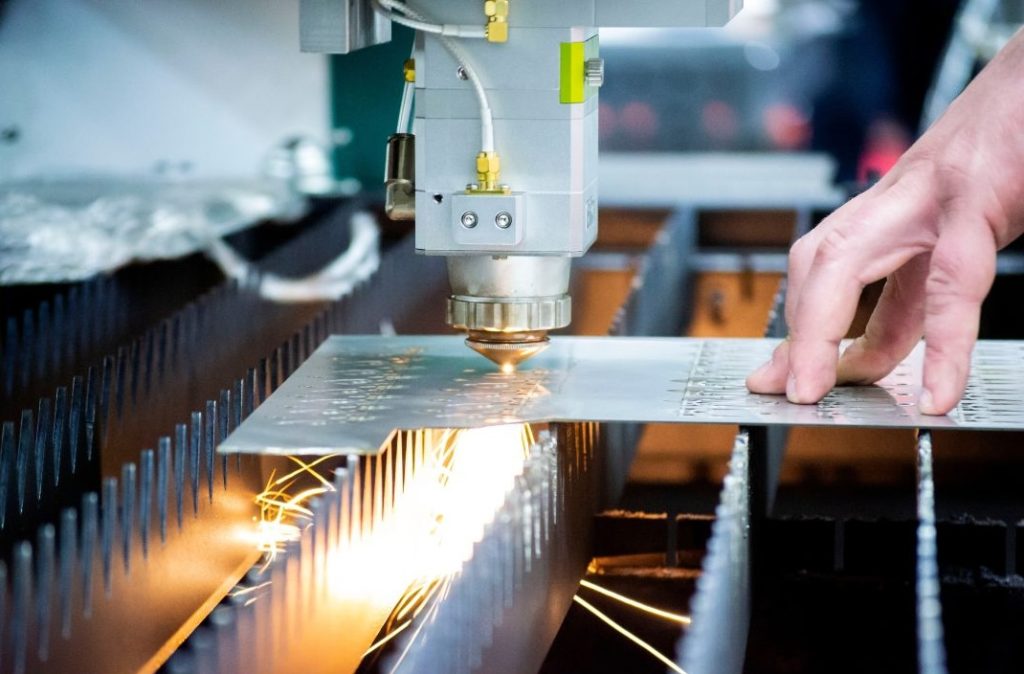
When engineers specify sheet metal laser cutting, attention usually centres on material grade, thickness and available laser power. Those inputs...
Welding distortion is not random. It is the predictable result of thermal expansion followed by constrained contraction. When weld metal...